Restoring Vintage Vinyl Players: A Guide
Restoring a vintage vinyl player can be a rewarding project for audio enthusiasts. This guide provides an overview of the restoration process, including diagnostics, calibration, and maintenance, to help you revive your beloved analog audio equipment.
Understanding the Basics
Restoring a vintage vinyl player involves several key steps aimed at ensuring the device functions optimally. Diagnostics is the first stage, where technicians assess the player to identify faults. According to industry experts, a thorough diagnostic process can often reveal issues that may not be immediately apparent, such as wear in the mechanical components or electrical failures.
"Regular diagnostics can extend the lifespan of your analog equipment significantly by addressing problems before they escalate."
Key Steps in the Restoration Process
The restoration of vintage vinyl players typically involves the following steps:
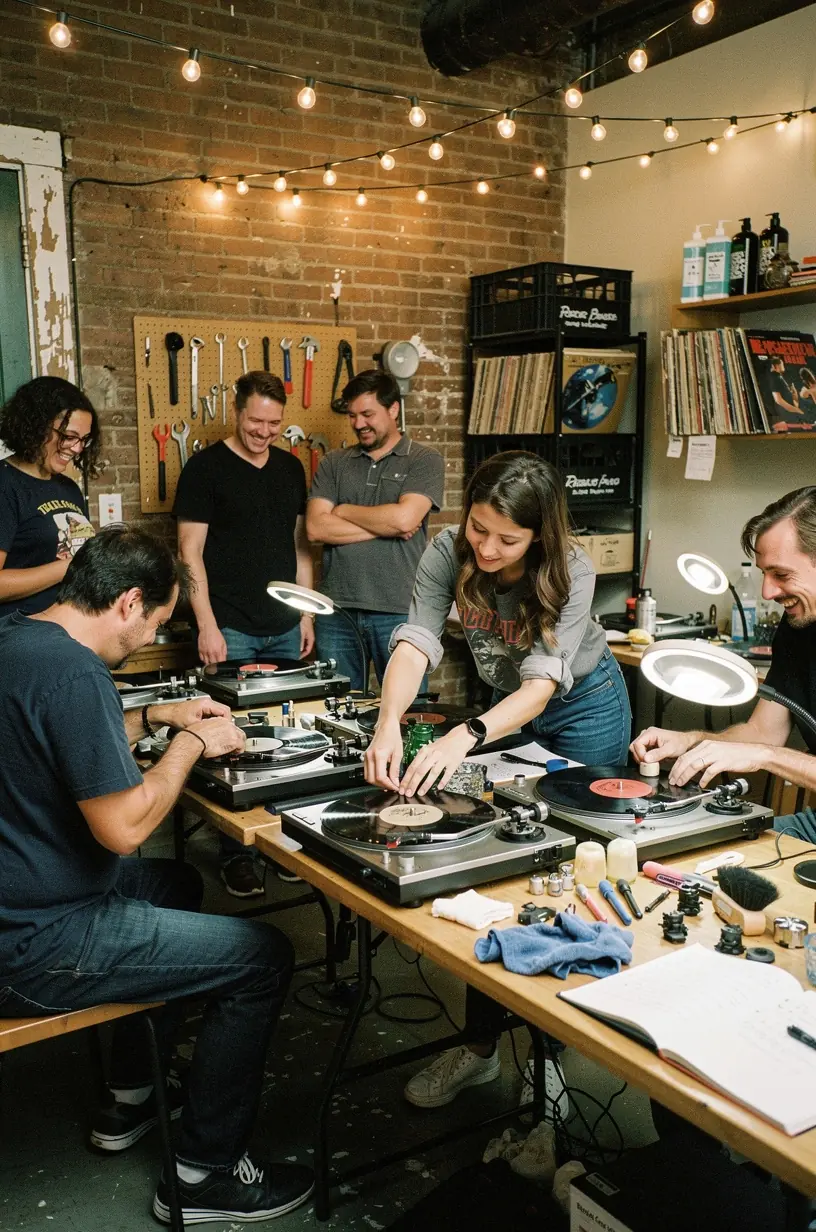
- Initial Assessment: This includes visual inspection and functional tests to pinpoint issues. Many users report that a detailed assessment helps in understanding the full scope of required repairs.
- Parts Replacement: After identifying faulty components, replacement parts, which may include belts, cartridges, or styluses, are sourced. Experts recommend using OEM (Original Equipment Manufacturer) parts whenever possible to maintain authenticity.
- Calibration: This step ensures the alignment and tracking force of the tonearm are set correctly, as improper calibration can lead to poor sound quality and increased record wear. Research indicates that properly calibrated players can enhance audio fidelity significantly.
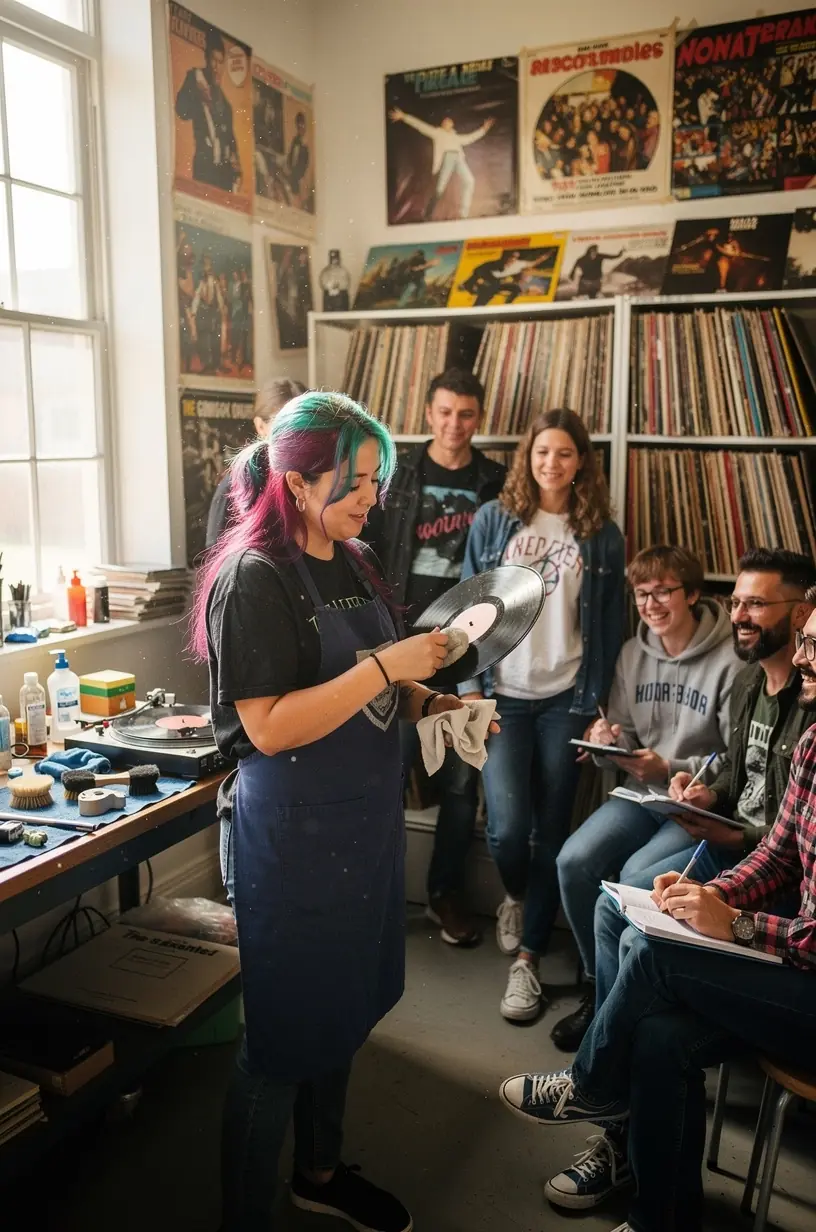
- Cleaning and Maintenance: Dust and debris can accumulate over years, affecting performance. Regular cleaning is essential; this typically involves using specialized cleaning solutions and techniques suitable for delicate electronics.
Time and Effort Commitment
Restoration projects can vary significantly in time commitment. In most cases, the process may take anywhere from two to six weeks, depending on the extent of repairs needed. It's important to acknowledge that a successful restoration often involves a steep learning curve, particularly for those unfamiliar with analog technology. Many find that dedicating time to research and practice improves their skills and results.
Maintaining Your Restored Vinyl Player
Once the restoration is complete, maintaining your vintage vinyl player is crucial to its longevity. Regular checks and minor adjustments can help prevent common issues:
- Keep the player in a stable environment, avoiding direct sunlight and extreme temperatures, which can warp components.
- Invest in a quality dust cover to protect your player from dust and scratches while not in use.
- Schedule routine maintenance checks, ideally every six months, to ensure that everything is functioning correctly and to catch any emerging issues early.
Conclusion
Restoring a vintage vinyl player can be an enriching experience that deepens your appreciation for analog audio. With the right approach—focusing on diagnostics, parts replacement, and meticulous calibration—many enthusiasts find that they can successfully revive their players. Remember, while this process requires time and effort, the reward of enjoying rich, warm vinyl sound can be profoundly satisfying.
Learn More